Broiling chicken is a quick and flavorful way to prepare a meal, but it can easily result in dry, overcooked meat if not done correctly. The good news? With just a few simple techniques, you can keep your broiled chicken juicy and tender every time. This article dives into everything you need to know, from preparation tips to reheating strategies, so you can confidently serve delicious broiled chicken that’s full of moisture and flavor. Let’s get started!
Understanding Moisture in Chicken
Why Broiled Chicken Often Dries Out
Ever broiled chicken only to end up with a dish that’s tough, dry, and far from appetizing? You’re not alone! Broiling exposes chicken to intense, direct heat, which can cause the moisture in the meat to evaporate too quickly. Without proper preparation or attention, it’s easy to overcook the chicken, especially thinner cuts like breasts.
A major culprit is the lack of protective layers or insufficient fat content. Chicken breasts, for instance, have little natural fat, making them prone to drying out faster than thighs or drumsticks. And let’s not forget uneven cooking, which can happen if your oven rack is poorly positioned or the chicken isn’t flipped halfway through cooking.
Importance of Retaining Moisture in Chicken
Why is moisture so important in chicken? Well, moisture directly affects texture, flavor, and overall satisfaction. Dry chicken can feel rubbery or chalky, making even the most beautifully seasoned piece less enjoyable. On the other hand, moist chicken delivers a mouthwatering bite that pairs perfectly with sauces, sides, and seasonings.
Keeping broiled chicken tender and juicy also boosts its versatility. Whether serving it as the star of a meal or slicing it for salads, sandwiches, or tacos, moisture ensures every dish remains delectable. And let’s be honest—nobody wants their hard work in the kitchen to result in chewy, unappetizing chicken. So, let’s set the foundation for success by understanding and addressing the root causes of dryness.
Stay tuned for preparation techniques in the next section to make sure your broiled chicken is moist and flavorful from the get-go!
Preparation Techniques to Keep Chicken Moist

Brining for Moisture Retention
Brining is a game-changer when it comes to how to keep broiled chicken moist. By soaking the chicken in a saltwater solution, you can lock in moisture before cooking even begins. The salt in the brine breaks down muscle fibers, allowing the chicken to absorb more water and stay juicy during broiling.
Creating a brine is simple. Mix water with salt—about 1/4 cup salt per quart of water—then add optional ingredients like sugar, herbs, or garlic for extra flavor. Let the chicken soak for at least 30 minutes, but for best results, aim for 2–4 hours. Larger cuts, like bone-in pieces, may need longer brining times. Just remember to rinse the chicken after brining to avoid overly salty meat.
Marination for Added Flavor and Tenderness
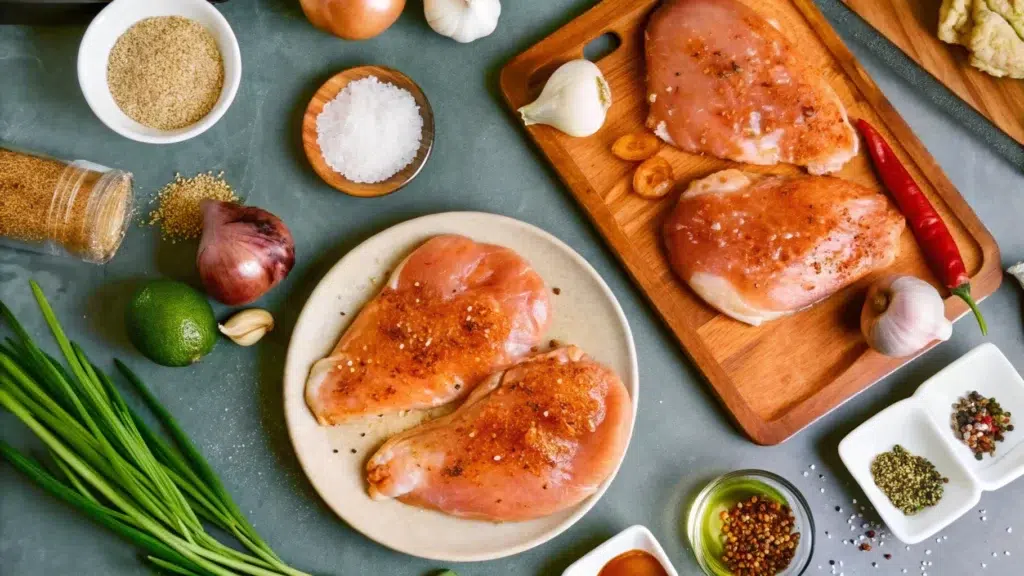
If you’re after moisture and bold flavor, marination is your best bet. A good marinade combines acid (like lemon juice or vinegar), oil, and seasonings. The acid tenderizes the chicken, while the oil creates a barrier to keep it moist during cooking. For broiling, choose marinades that won’t burn easily under high heat, such as yogurt-based blends or simple olive oil and herb mixtures.
Let the chicken marinate in the refrigerator for at least 30 minutes. If you have time, overnight marination works wonders, especially for lean cuts like chicken breasts. This simple step ensures that every bite is flavorful and juicy.
Pre-Cooking Practices
Before broiling, take the chicken out of the fridge and let it sit at room temperature for 20–30 minutes. This step helps the chicken cook evenly, preventing dryness caused by cold spots. For extra protection, pound thick pieces to an even thickness with a mallet—this ensures faster, more uniform cooking.
Broiling Best Practices
Using a Meat Thermometer
If you’ve ever wondered how to keep broiled chicken moist, a meat thermometer might be the answer. Overcooking is one of the fastest ways to dry out chicken, but using a thermometer helps you cook it to just the right temperature. For juicy chicken, aim for an internal temperature of 165°F (74°C).
To use the thermometer, insert it into the thickest part of the meat, avoiding bones. Check the temperature a few minutes before the expected cooking time ends. If it’s below 165°F, continue broiling, but keep a close watch to prevent overcooking.
Choosing the Right Broiling Tools
Having the right tools can make all the difference. Use a broiler pan or a wire rack set over a baking sheet to allow juices to drip away, preventing sogginess. Adjust the oven rack so the chicken is about 5–6 inches from the broiler. This distance provides enough heat to cook the chicken thoroughly without burning it.
If your chicken is prone to drying out, consider adding a protective layer. Brushing it with oil or a light glaze before broiling helps seal in the juices. For extra protection, use aluminum foil to tent thinner pieces, reducing exposure to direct heat.
Applying Protective Layers
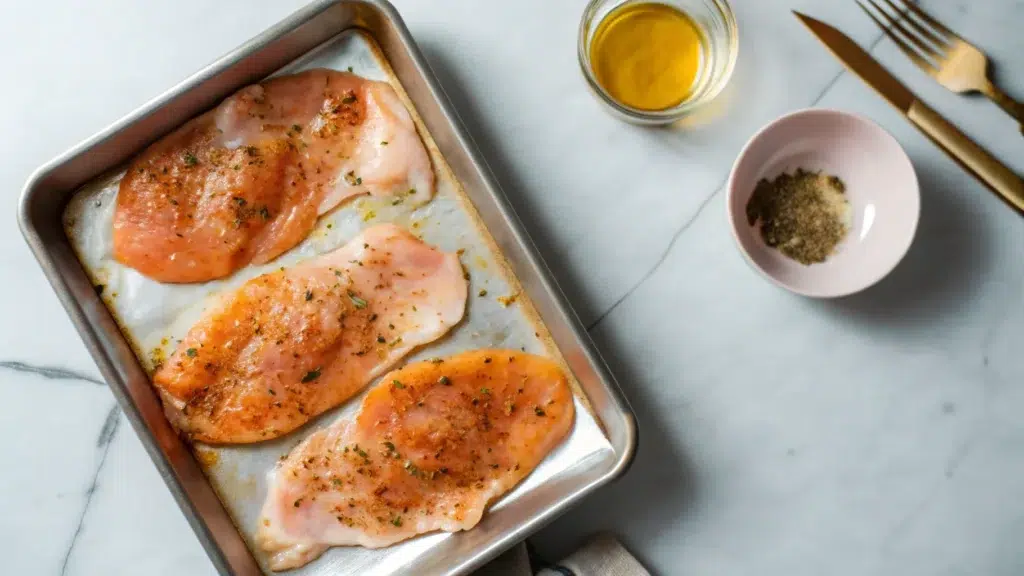
Before broiling, season the chicken generously with spices. A spice crust not only boosts flavor but also creates a barrier that locks in moisture. For lean cuts, brushing with a mixture of butter or olive oil adds an extra layer of protection against the high heat.
Flip the chicken halfway through broiling to cook both sides evenly. For bone-in pieces, start with the skin-side down, as this side is more resistant to direct heat. This little trick helps retain moisture while delivering a crispy exterior.
By combining these broiling best practices, you’ll consistently serve chicken that’s golden on the outside and juicy on the inside. Master these techniques, and you’ll never have to deal with dry chicken again!

Post-Cooking Strategies for Moisture Preservation
Resting the Chicken After Broiling
One of the simplest yet most effective ways to lock in moisture is to let the chicken rest after broiling. Resting allows the juices, which redistribute during cooking, to settle back into the meat. Skipping this step can lead to those flavorful juices running out the moment you slice the chicken, leaving it dry and less appetizing.
To rest the chicken properly, transfer it to a cutting board and cover it loosely with aluminum foil. Let it sit for about 5–10 minutes before serving. This short wait time ensures that every bite of chicken is as juicy and flavorful as possible. Plus, it gives you a moment to finish preparing sides or sauces.
Adding Moisture with Sauces and Broths
Another great way to preserve moisture in broiled chicken is by serving it with a flavorful sauce or broth. A light glaze or a drizzle of chicken stock can work wonders to keep the meat tender, especially when reheating leftovers. Options like garlic butter sauce, honey mustard, or herb-infused broths not only enhance flavor but also add much-needed moisture to each bite.
For an added touch of richness, simmering the chicken in broth for a few minutes after broiling can seal in the moisture and create a delectable coating. This step is particularly useful when preparing chicken for recipes like wraps or salads, where maintaining tenderness is key.
Storage and Reheating Tips
Best Practices for Storing Broiled Chicken
Proper storage plays a big role in how to keep broiled chicken moist, especially if you’re planning to enjoy it later. Start by letting the chicken cool to room temperature before storing it in an airtight container. Refrigerate within two hours to maintain freshness and avoid bacterial growth. If you want to store the chicken for a longer period, consider freezing it in a tightly sealed bag or container. Add a small amount of broth or sauce before freezing to help lock in moisture.
Label your containers with dates to keep track of how long the chicken has been stored. For the best taste and texture, consume refrigerated chicken within 3–4 days or frozen chicken within 3 months.
Reheating Without Losing Moisture
Reheating broiled chicken without drying it out can feel like a challenge, but it doesn’t have to be! To keep your chicken moist, avoid high heat and long cooking times. The oven is a great choice—simply cover the chicken with foil and heat it at a low temperature, about 300°F, until warmed through. Adding a splash of broth or a light sauce before reheating can also help.
If you’re in a hurry, the microwave works too, but be cautious. Use a damp paper towel to cover the chicken, creating steam that prevents it from drying out. Heat it in short intervals to avoid overcooking.
For more delicious recipes and kitchen tips, check out this broiled chicken breasts recipe on Larder Recipes. It’s a great companion to this guide!

Alternative Cooking Methods to Complement Broiling
Pairing Broiling with Other Cooking Methods
Sometimes, the best way to enhance the results of broiling is to combine it with other cooking techniques. For example, lightly steaming chicken before broiling can help it retain moisture, especially for lean cuts like breasts. Steaming partially cooks the chicken and keeps it hydrated, so the broiling step focuses on adding that golden-brown finish.
Sous vide is another fantastic option for maintaining juiciness. This method involves cooking chicken in a vacuum-sealed bag in water at a precise temperature. Once cooked, the chicken can be quickly broiled to achieve a crisp outer layer. This approach is particularly effective for ensuring the meat stays tender and flavorful, even with high-heat broiling.
Experimenting with Broiler Settings
Adjusting broiler settings can also make a big difference in the final dish. Low broil settings cook chicken more slowly, reducing the risk of drying out while still delivering a flavorful crust. High broil settings, on the other hand, are ideal for thicker cuts where the goal is to achieve a seared outer layer without overcooking the interior.
By combining these methods with proper preparation and storage tips, you’ll not only master how to keep broiled chicken moist but also elevate its flavor and presentation.
FAQs and Final Thoughts
Frequently Asked Questions
How do I keep broiled chicken moist for salads or sandwiches?
To keep chicken juicy for later use, store it with a light coating of broth or sauce. Slicing it while warm can also help retain moisture.
Can I use cookie cakes as a side dish with broiled chicken?
Cookie cakes are a delightful dessert, but their sweetness might pair better after a savory meal rather than alongside it. Consider offering them as a finishing treat for a balanced menu.
What’s the best way to broil chicken without burning it?
Keep a close eye on the chicken, adjusting the oven rack’s distance from the broiler as needed. Using a meat thermometer ensures the chicken cooks evenly without overcooking.
Final Thoughts
Broiling chicken doesn’t have to mean sacrificing moisture. By pairing the right preparation techniques with proper broiling methods, you can achieve flavorful, juicy results every time. Whether experimenting with broiler settings or incorporating sauces, you’ll discover that mastering how to keep broiled chicken moist is easier than it seems. Don’t forget to end your meal with something sweet—perhaps a delicious cookie cake for dessert!
Pairing Broiled Chicken with Complementary Flavors
Ideal Sauces and Seasonings
When thinking about how to keep broiled chicken moist, pairing it with the right sauces and seasonings can make all the difference. A garlic butter sauce or tangy lemon herb dressing not only adds flavor but also provides extra moisture to every bite. Consider making a honey mustard glaze for a sweet and savory combination that locks in juices while adding depth to the dish.
For a smoky touch, try barbecue sauce as a finishing glaze during the last few minutes of broiling. The sugar in the sauce caramelizes under the high heat, creating a delightful crust that keeps the chicken tender on the inside.
Side Dishes That Enhance the Experience
The right side dishes can elevate your broiled chicken meal. Steamed vegetables or mashed potatoes work well to soak up any flavorful juices. For a fresh contrast, serve a crisp garden salad with a light vinaigrette. Want to add a bit of sweetness? Consider a small dessert like a cookie cake to round out the meal.
These pairings ensure your broiled chicken remains the star of the meal, with every flavor and texture working in harmony to create a satisfying dining experience.
Creative Uses for Leftover Broiled Chicken
Incorporating Leftovers into New Dishes
Leftover chicken doesn’t have to be boring! If you’re wondering how to keep broiled chicken moist for repurposing, reheating it properly and using it in recipes can make it feel brand new. Dice it and toss it into a creamy pasta dish, like Alfredo or carbonara. Shredding leftover chicken for tacos, enchiladas, or even soups can turn yesterday’s dinner into today’s hit meal.
Adding a splash of chicken broth while reheating can help restore some of the moisture, making the leftovers just as flavorful as the original dish.
Storage Tips for Leftovers
Store leftovers in an airtight container with a small amount of sauce or broth to maintain their tenderness. Refrigerate within two hours of cooking to keep them safe and fresh. If you’re freezing the chicken, divide it into single-serving portions for quick and convenient use later.
By creatively reimagining your leftovers, you not only save time but also ensure your chicken remains juicy and delicious, no matter how it’s served. Whether turned into a savory main course or paired with a fresh side, your broiled chicken can be the highlight of your meals for days to come!
Print
How to Keep Broiled Chicken Moist: Best Tips and Techniques
- Prep Time: 30 minutes (includes brining and marinating)
- Cook Time: 15 minutes (6–8 minutes per side under the broiler)
- Total Time: 45 minutes
Ingredients
Basic Ingredients for Moisture Retention
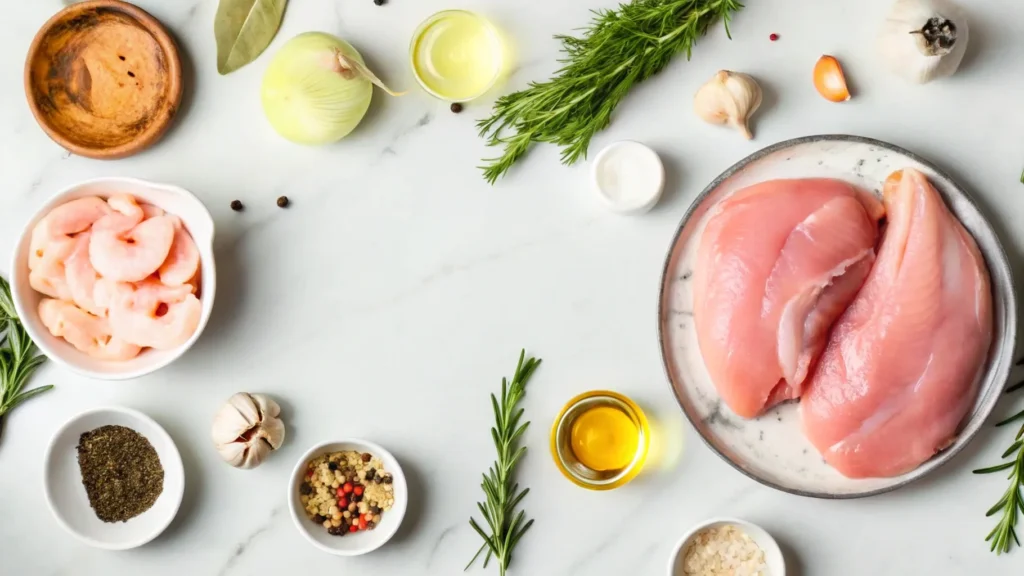
- Chicken – Preferably fresh, skin-on cuts like breasts, thighs, or drumsticks.
- Salt – For brining or seasoning.
- Water – As the base for brining.
- Olive Oil or Butter – To coat the chicken and lock in moisture during broiling.
Marinade Ingredients
- Yogurt or Buttermilk – Adds tenderness and moisture.
- Citrus Juice (Lemon, Lime, or Orange) – For acidity that tenderizes the meat.
- Herbs (Rosemary, Thyme, or Parsley) – Adds flavor without drying the chicken.
- Garlic and Ginger – Aromatic ingredients to elevate taste.
- Spices (Paprika, Cumin, or Cayenne) – For flavor enhancement.
For Sauces and Glazes
- Chicken Broth – Adds moisture when used for basting or reheating.
- Honey or Brown Sugar – For glazes that caramelize under broiling heat.
- Mustard or Soy Sauce – Brings savory and tangy flavors.
- Vinegar or Wine – For acidity and depth.
Optional Flavor Boosters
- Onions or Shallots – Infused into marinades or broths.
- Crushed Tomatoes – For a base sauce to pair with broiled chicken.
- Cream or Coconut Milk – For rich, moist results in marinades or sauces.
Instructions
Step 1: Prepare the Chicken
- Choose Fresh Cuts: Select chicken breasts, thighs, or drumsticks. For best results, opt for cuts with the skin on as it helps retain moisture.
- Clean the Chicken: Rinse the chicken under cold water and pat it dry with a paper towel. Trim any excess fat if necessary.
Step 2: Brine the Chicken
- Create the Brine: In a large bowl, dissolve 1/4 cup of salt in 1 quart of water. For added flavor, include sugar, garlic, herbs, or spices.
- Soak the Chicken: Submerge the chicken in the brine and refrigerate for 30 minutes to 4 hours, depending on the size of the cuts.
- Rinse and Dry: Rinse the chicken thoroughly under cold water to remove excess salt and pat it dry.
Step 3: Marinate for Flavor
- Prepare a Marinade: Combine yogurt, citrus juice, olive oil, garlic, and your preferred spices in a bowl.
- Coat the Chicken: Place the chicken in a resealable bag or container and pour the marinade over it. Refrigerate for at least 30 minutes or overnight for maximum flavor.
Step 4: Preheat the Broiler
- Set Up the Oven: Position the oven rack about 5–6 inches from the broiler.
- Prepare the Broiler Pan: Use a broiler pan or a wire rack placed over a baking sheet to allow fat to drip away while cooking.
Step 5: Season and Broil
- Season the Chicken: Lightly brush the chicken with olive oil or melted butter. Sprinkle with salt, pepper, and additional spices as desired.
- Broil the Chicken: Place the chicken on the pan and broil for 6–8 minutes per side, flipping halfway through, until the internal temperature reaches 165°F (74°C).
Step 6: Rest the Chicken
- Remove and Cover: Take the chicken out of the broiler and let it rest on a cutting board. Cover it loosely with aluminum foil for 5–10 minutes to allow the juices to redistribute.
Step 7: Serve and Enjoy
- Add Moisture: Drizzle the chicken with a light sauce or glaze, such as garlic butter or honey mustard, for extra juiciness.
- Pair with Sides: Serve alongside steamed vegetables, mashed potatoes, or a crisp salad for a complete meal.
Nutrition
- Serving Size: 1 medium chicken breast (4 ounces, skinless, boneless)
- Calories: 165 kcal
- Sugar: 0 g
- Sodium: 75 mg (without brine; brining may increase this significantly)
- Fat: 3.6 g
- Saturated Fat: 1 g
- Unsaturated Fat: 2.6 g
- Trans Fat: 0 g
- Carbohydrates: 0 g
- Fiber: 0 g
- Protein: 31 g
- Cholesterol: 85 mg

